Connecting your Organization to locations and creating a map
Now you are all set to connect your Organization Profile you created in Step 1. and the Form you created in Step 2. to your locations. There is two easy ways you and your members can do that. You either add them through your Web Dashboard or via the Map Your City mobile app.
Here’s the tools you will be using in this step and the details to help you connect your Organization Profile and your Form to Locations and create your custom Web map.
Map Your City app
The Map Your City app is a map where Explorers and Storytellers meet. No, not the kind of map with boring pins and street names. It’s a new kind of map that’s connected to the communities you love and the world. People use it every day to explore, talk, play, learn — and map some places, too.
The Form
The Form you created for your Organization by using the Map Your City Form Builder. It enables you and your community to add your information to Locations in the app, your Web map and on Location cards. The form helps you to connect to your followers, empowers your marketing and creates that foot traffic you are searching for.
Custom Web Map
Your community's very own Web Map designed to be placed on any website. Maps are valuable marketing channels that can benefit any type of business. Whether you want to grow foot traffic to your locations or sell more, maps are a great way to nurture new customers, educate people about your city, destination or products, and drive conversions.
Adding your Organization Profile from your Dashboard:
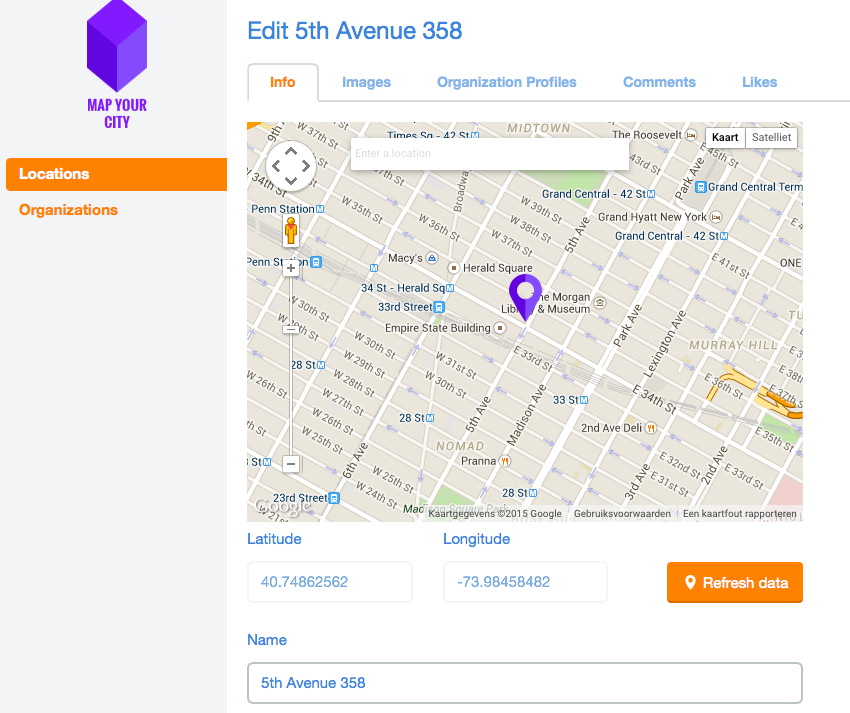
- Go to the Locations Menu and select a Location or create a new one (how to create a new location is explained this previous Step 3 – Managing your community’s Locations)
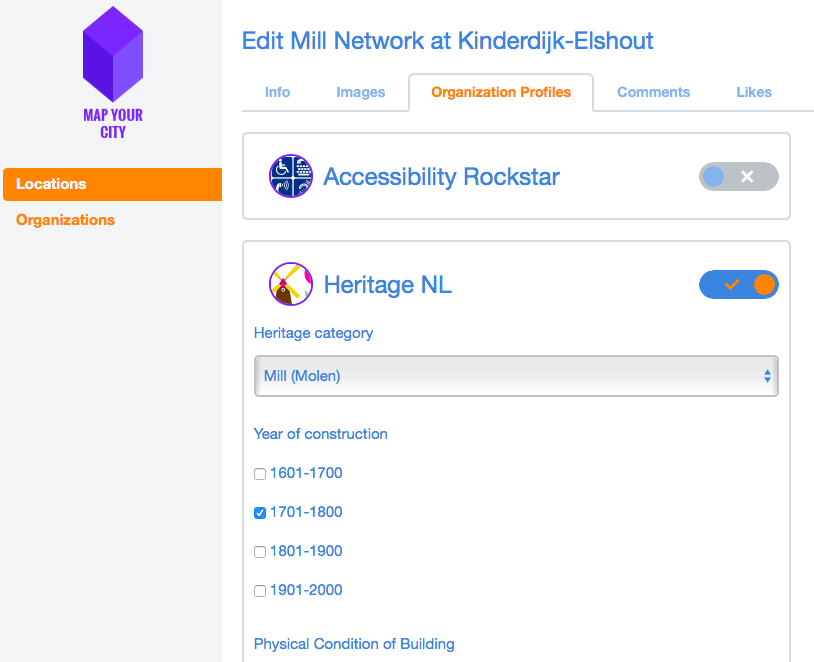
- Go to the Organization Profiles Tab of a Selected Location
- Slide the toggle to “on” to add the your Organization Profile. And Voila: Your Custom Form now shows under the location. You can now start adding custom info for that specific location using the Custom Fields that you created earlier for your form in the Form Builder.
- Don’t forget to click “Save”.
- Once you connect to a Location, that specific Location
- Gets added to your Organization’s List of Locations
- Pops up on your Website map
- Shows your custom information, all connected media, and ticketing, whatever you choose really.
- Your followers get notified of a new location to discover.
- Did you know that your info is visible to everyone, every time someone shares that location on his socials, explores the Map Your City app, checks your Website map, reads your blogpost with the location embedded, or is sent an app notification regarding that location?
- Unleashing location marketing power has never been that simple 😉
Adding your Organization Profile from the mobile app:
- And it works just as simple in the Map Your City mobile app when you and your members map a new location or add your profile to an already existing location on the map. How that works? Check the User Guide for Members.

In the selected Location – go to the Organization Profiles Tab…

…slide the toggle to add Profile
Creating your map and Embedding it on your website
- Read this article with 9 map design tips to improve conversion as a good starting point for creating a killer web map landing page.
- After you have added your Organization Profile to some locations, check how these show on your web map.
- Make sure to also test how your menu works out.
- You get a full screen map view by clicking your map’s “Public Profile” link.
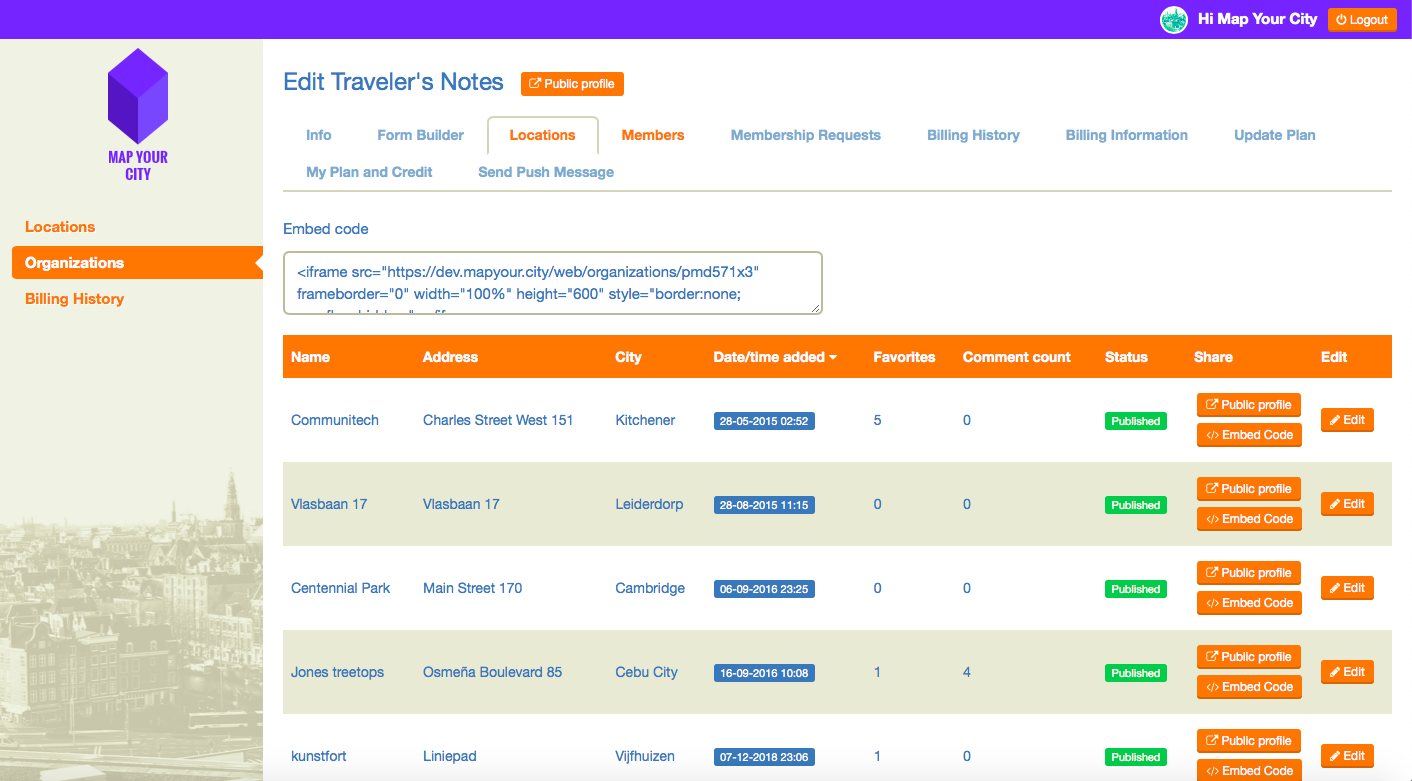
- When you are ready to publish – grab the embed code from your Dashboard and simply paste it into your website page’s text editor.
- Need some inspiration how to create a stunning website with an amazing webmap? Welcome to Amsterdam : )

Ready to publish? – grab the embed code from your Dashboard and simply paste it into your website
- Remember your Organization Profile will start showing in the mobile app for others to discover once you have subscribed.
- You and your members can see, fill and attach your Form to locations.
- The information added to a location will only show for others to see in the mobile app once you have subscribed.
- The information added to a location will only show for others to see on your web map once you have subscribed.
People are waiting to join your community – in the next step you’ll learn how to invite them.
Common Questions
Can I change the dimensions in the Embed code for the map?
The dimensions in the code are proven to work well on most websites. You can play around with height & width to create a best fit – but we’d advice just sticking to the dimensions in the embed code.
Can I create a full size map?
Way ahead of you – you’ve automatically got access to a full size map by clicking the orange button next to your Organization name.


