Sell more stuff, create more foot traffic, make informed decisions.
Congratulations! You are now in charge of a very powerful location marketing tool to create engagement with your community, sell more stuff, create more foot traffic to your locations and events and collect the intel to make informed decisions.
Simple steps making promoting your locations a breeze

You (on behalf of your community) have successfully created your Organization from the Map Your City app and you are added to your Organization as an Owner. We’ll guide you through the steps to set up your Organization successfully.

Welcome to the heart of Map Your City: Your Form Builder. The Map Your City Form Builder lets you create a form that will be visible in the mobile app and in your Dashboard. A little warning in advance – It truly has a lot of power

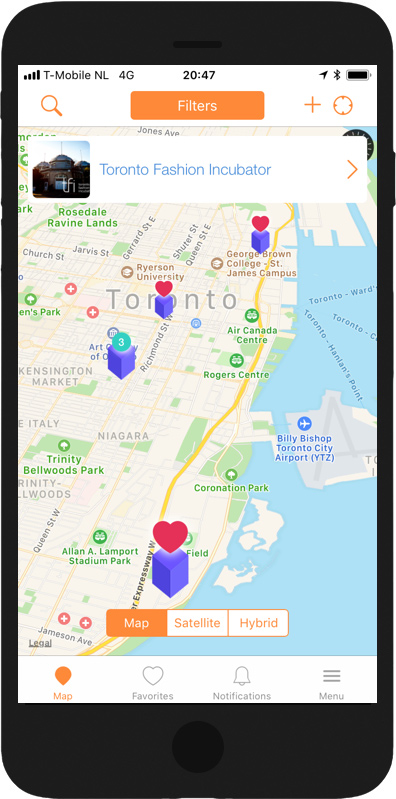
Locations can be mapped in the Map Your City mobile app or added using the Dashboard. This article describes how you can add and manage locations for your communities from your Dashboard.

Now you are all set to connect your Organization Profile you created in Step 1. and the Form you created in Step 2. to your locations. There is two easy ways you and your members can do that.

After all your hard work you are now ready to invite others to join and create your community in Map Your City. Invite your team, connected businesses, travel professionals or valued stakeholders to create location experiences together.

Kudos! You have done an amazing job so far. Here’s just some first tips to help you make your community work successfully.